Painting can be a transformative experience for your home, breathing new life into tired walls and giving your space a fresh, updated look. However, it’s important to remember that painting is not without its challenges, and one of the most significant concerns is protecting your furniture and floors from potential damage.
Without proper precautions, paint spills, splatters, and accidental drips can wreak havoc on your belongings and flooring. Let’s explore the essential steps and materials needed to safeguard your furniture and floors during your next painting project.
Essential Materials for Protecting Furniture and Floors
Before diving into the intricacies of protecting your furniture and floors while painting, it’s crucial to gather the right materials.
Having the following essentials on hand will make the process more manageable:
- Drop Cloths and Plastic Sheeting: Drop cloths are heavy-duty fabric covers that shield your floors and furniture from paint splatters and drips. Plastic sheeting, on the other hand, provides a moisture-proof barrier and is particularly useful for protecting carpets.
- Painter’s Tape: Painter’s tape is designed to create clean, crisp lines and prevent paint from bleeding onto adjacent surfaces. It’s an indispensable tool for protecting trims, baseboards, and other areas that require precise lines.
- Furniture Covers and Blankets: Furniture covers and blankets offer protection against accidental paint spills and scratches. They are especially useful for larger pieces of furniture that can’t be moved easily.
- Protective Film and Paper: Protective films and papers are designed to adhere to surfaces temporarily, offering protection from paint and debris. They are ideal for covering windows, cabinets, and countertops.
Preparing Your Space
Now that you’ve gathered your materials, the next step is preparing your space for painting. Proper preparation is essential for a successful and mess-free painting project.
- Clearing the Room: Start by removing as much furniture and belongings from the room as possible. Clearing the space not only prevents accidents but also provides you with more room to work efficiently.
- Cleaning Surfaces: Clean the surfaces you intend to paint thoroughly. Dust, dirt, and grease can interfere with paint adhesion, so a clean surface is crucial for a professional finish.
- Identifying Areas That Need Extra Attention: Examine the room and identify areas that may require extra protection. This could include delicate fixtures, valuable artwork, or any other items that should be shielded from paint and debris.
- Covering Light Fixtures and Outlets: Don’t forget to protect light fixtures and electrical outlets. Simply cover them with plastic bags and secure them with painter’s tape to prevent paint from reaching them.
Using Drop Cloths and Plastic Sheeting
Now that your space is prepped, it’s time to lay down drop cloths and plastic sheeting to protect your floors and furniture.
How to Lay Down Drop Cloths and Plastic Sheeting Properly
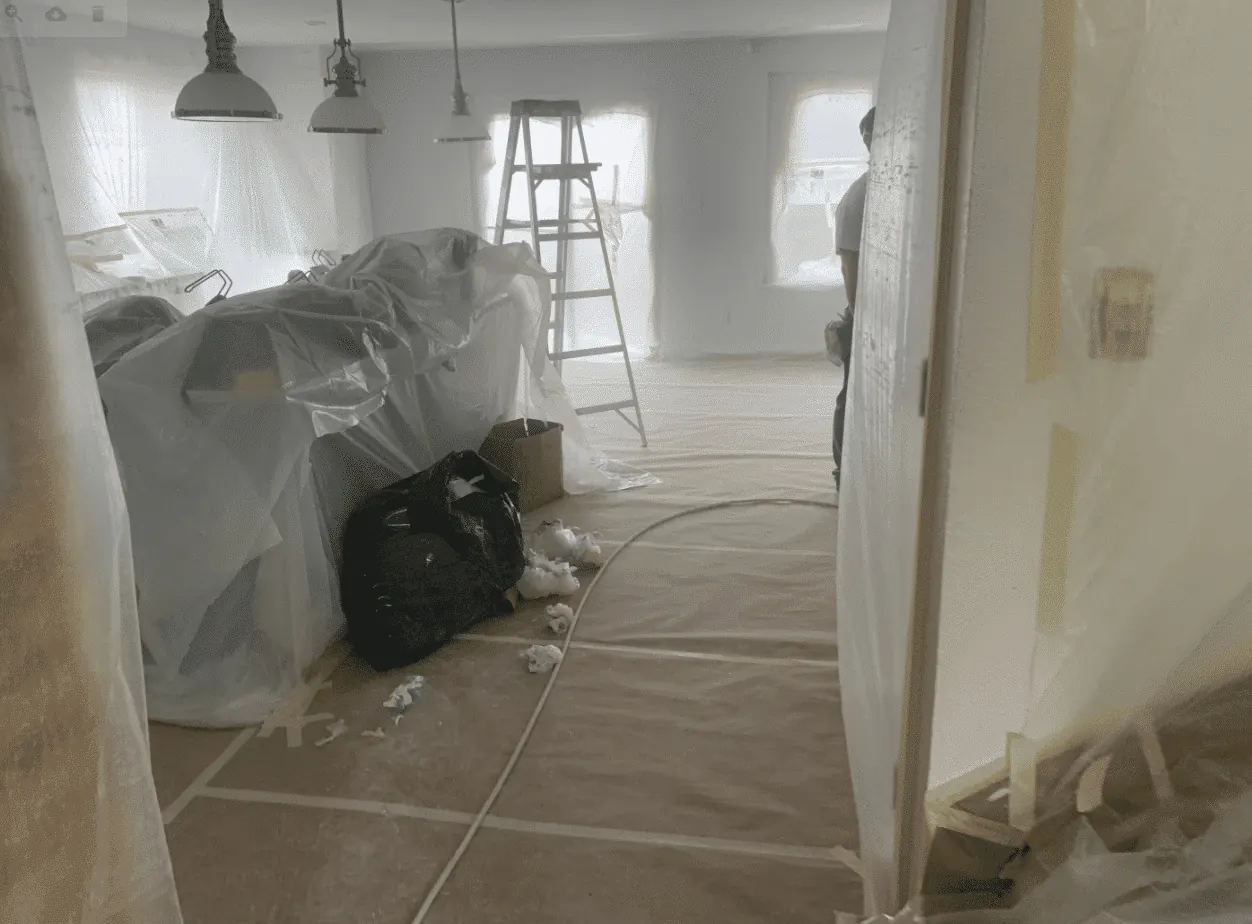
- Start by unrolling your drop cloth or plastic sheeting near the wall where you’ll begin painting.
- Allow the material to unfold naturally as you move further into the room.
- Overlap the edges of adjacent sheets to create a seamless barrier.
- Use painter’s tape to secure the edges of the drop cloths or sheeting to the baseboards and walls. This prevents them from shifting and creating tripping hazards.
Choosing the Right Type of Drop Cloth or Sheeting
There are various types of drop cloths and plastic sheeting available, and the right choice depends on your specific needs:
- Canvas Drop Cloths: These are heavy-duty and reusable. They are ideal for protecting hardwood floors and furniture.
- Plastic Drop Cloths: Plastic drop cloths are waterproof and excellent for protecting carpets. They are disposable, so you can simply toss them after use.
- Paper and Plastic Sheeting: These are great for covering large areas and are often used in conjunction with painter’s tape to protect windows, countertops, and cabinets.
Applying Painter’s Tape
Painter’s tape is a valuable tool for achieving clean lines and protecting surfaces that you don’t want to paint. Here’s how to use it effectively:
The Correct Technique for Applying Painter’s Tape
- Clean and dry the surface where you’ll be applying the tape.
- Start by unrolling a section of the painter’s tape and gently press it onto the surface. Make sure it’s straight and aligned where you want to create the edge.
- Use a putty knife or the edge of a credit card to smooth out the tape and ensure it adheres securely.
- Avoid stretching the tape, as this can lead to uneven lines.
Using Painter’s Tape to Protect Trim and Baseboards
Painter’s tape is excellent for protecting trim, baseboards, and other architectural details.
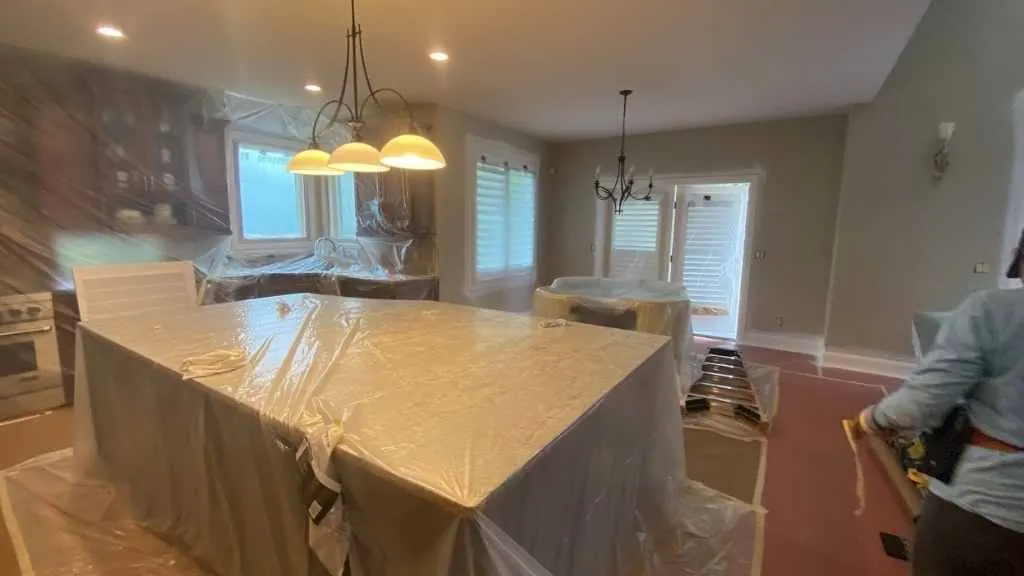
- Apply the tape along the edge you want to protect, making sure it adheres well.
- Press the tape firmly to prevent paint from seeping underneath.
- Remove the tape carefully once you’ve finished painting but before the paint is fully dry to ensure clean lines.
Furniture Protection
Your furniture deserves special attention during a painting project. Whether you’re dealing with heirloom pieces or modern furnishings, taking steps to protect them is essential.
Covering Furniture With Blankets or Protective Covers
- Before covering furniture, remove any loose cushions or accessories.
- Drape blankets or protective covers over the furniture, ensuring that they cover the entire piece.
- Secure the covers in place with tape or straps to prevent them from slipping during the painting process.
How to Wrap and Secure Delicate or Antique Furniture
For delicate or antique furniture that requires extra care, consider these additional steps:
- Wrap the furniture in plastic sheeting before covering it with blankets or protective covers.
- Use foam padding or bubble wrap to protect delicate surfaces and corners.
- Secure the wrapping and covers with straps or bungee cords to ensure they stay in place.
Moving Furniture Out of the Painting Area
If possible, move furniture out of the room you’re painting. This not only ensures their safety but also provides you with a more spacious and unobstructed working environment.
Floor Protection
Your floors are susceptible to paint spills and splatters, so it’s crucial to take steps to protect them during your painting project.
Preventing Paint Spills and Splatters on Different Types of Flooring
Different flooring types require varying levels of protection:
- Hardwood Floors: Hardwood floors can be sensitive to moisture, so opt for canvas drop cloths to provide a breathable barrier. Ensure there are no gaps or wrinkles in the cloths that could trap moisture.
- Carpet: Use plastic sheeting to create a waterproof barrier over carpets. Ensure it’s taped securely at the edges to prevent any paint seepage.
- Tile or Laminate: These surfaces can withstand moisture better than hardwood or carpet, but it’s still essential to protect them with drop cloths or plastic sheeting.
Conclusion
Protecting your furniture and floors while painting is a critical step in ensuring a successful and stress-free painting project. By gathering the right materials, preparing your space meticulously, and using drop cloths, painter’s tape, and protective covers effectively, you can minimize the risk of accidental damage and maintain the beauty of your home’s interior.
Remember that the investment in proper protection is well worth the effort, as it allows you to enjoy the transformation of your space without the worry of costly repairs or replacements.
So, the next time you embark on a painting project, take the time to protect your furniture and floors. Your home will thank you for it.
If you would rather not spend a weekend taping baseboards, see how we approach interior painting, or get in touch for a free estimate.
Frequently asked questions
Why is it important to protect furniture and floors during a painting project?
To prevent the paint spills, splatters and accidental drips that cause permanent damage and turn a simple job into a messy cleanup. The protection costs very little next to replacing a rug or refinishing a floor.
How do I apply painter's tape correctly?
Apply it to clean, dry surfaces, press it firmly so it adheres properly, and avoid stretching it as you go. Smooth it down with a putty knife or the edge of a credit card to seal the edge and stop paint bleeding underneath.
What should I do if a paint spill happens anyway?
Act quickly. Blot the spill with a clean cloth or paper towels and absorb as much as you can before it sets, then follow the cleaning guidance for that specific flooring or surface type.
Can I use regular tape instead of painter's tape?
In a pinch, but it is a false economy. Painter's tape is designed for the job, which means it comes off cleanly without damaging the surface underneath or leaving residue behind.
Ready to see it on your walls?
Get a free estimate and a certified color consultation, with no payment until you are 100% satisfied.
Book My Free Estimate